There is an extended family joke about kefir around here. Whenever family is visiting and eating with us, they pause before their first bite/sip of anything and ask, "Is there kefir in this?!"
We love our kefir grains. I started making my own kefir about 5 years ago, when my midwife suggested I drink kefir during one of my pregnancies. I found some kefir grains from a local acquaintance (what a blessing that I actually found someone close by that was so willing to generously share with me!) and started on the kefir making journey of a lifetime.
There is so much information to share on kefir. Google around a bit for an in-depth study. I will keep it brief and simple, sharing why we use kefir, what we do with our kefir, and how we care for our kefir grains.
Why kefir? Do a quick search of kefir and you will find a wealth of information on this popularity-gaining drink. It is a powerhouse probiotic with immense health benefits. In a nutshell, like yogurt, kefir helps feed the "good" gut flora. In addition to that, it wipes out the "bad' gut flora.
What do you do with your kefir? Smoothies! Most of our kefir is used as the base for daily smoothies. It has a tangy flavor somewhere between a plain yogurt and sour cream. The texture is smooth and creamy.
We also use kefir in place of buttermilk with delicious results. Kefir can be used in pancakes, waffles, breads, muffins and just about any other baked good that you would use buttermilk in. Kefir is GREAT in homemade ranch dressing. I've also done "buttermilk" chicken that turns out amazing!
Three years ago, my husband got in on the kefir making fun. He likes to get creative and has even branched out into making ginger drinks and apple "cider" etc. with kefir grains.
I digress!
On to kefir-care.
How do you care for your kefir grains?
Supplies: kefir grains, milk, glass jar, light lid (or something to cover the opening of the jar), plastic/nylon or stainless steel strainer with small openings or a mesh weave, bowl to catch kefir drink, wooden spoon




UPDATE: I recently purchased a new strainer on Amazon that has been AWESOME for making kefir.
It has also been the best thing I have found for straining small grains like quinoa, etc. I use the 7 inch one with the white/blue Ikea bowl show above. The 3 inch strainer fits perfectly in a wide mouthed mason jar.
We love our kefir grains. I started making my own kefir about 5 years ago, when my midwife suggested I drink kefir during one of my pregnancies. I found some kefir grains from a local acquaintance (what a blessing that I actually found someone close by that was so willing to generously share with me!) and started on the kefir making journey of a lifetime.
There is so much information to share on kefir. Google around a bit for an in-depth study. I will keep it brief and simple, sharing why we use kefir, what we do with our kefir, and how we care for our kefir grains.
Why kefir? Do a quick search of kefir and you will find a wealth of information on this popularity-gaining drink. It is a powerhouse probiotic with immense health benefits. In a nutshell, like yogurt, kefir helps feed the "good" gut flora. In addition to that, it wipes out the "bad' gut flora.
What do you do with your kefir? Smoothies! Most of our kefir is used as the base for daily smoothies. It has a tangy flavor somewhere between a plain yogurt and sour cream. The texture is smooth and creamy.
We also use kefir in place of buttermilk with delicious results. Kefir can be used in pancakes, waffles, breads, muffins and just about any other baked good that you would use buttermilk in. Kefir is GREAT in homemade ranch dressing. I've also done "buttermilk" chicken that turns out amazing!
Three years ago, my husband got in on the kefir making fun. He likes to get creative and has even branched out into making ginger drinks and apple "cider" etc. with kefir grains.
I digress!
On to kefir-care.
How do you care for your kefir grains?
Supplies: kefir grains, milk, glass jar, light lid (or something to cover the opening of the jar), plastic/nylon or stainless steel strainer with small openings or a mesh weave, bowl to catch kefir drink, wooden spoon

Storing grains:I store my grains in a glass jar (Mason jar or similar) covered in milk. I rest a light lid on top, just to keep dust, bugs or random things from falling in to the jar. I store this jar at room temperature. Sometimes on my kitchen counter, but usually inside a cupboard In old kitchens we've had, an out of the way spot on the counter top was perfect. My current kitchen is very warm and sunny. This was causing my kefir to "kefirize" much more quickly than I preferred. Storing the jar in a cabinet where it is a bit darker and cooler brought things to the perfect speed.

Here is a picture of kefir after about 24 hours after giving it fresh milk. It is just starting to separate.

I like to stir it up a bit before straining. This is not necessary. I do it because it helps straining go a bit quicker.

Putting my strainer on the bowl.

Pouring my kefire into the strainer. See the little lumps? Those are kefir grains!

Stirring the kefir around a it to help speed the process. It is thick!

Once the kefir has strained, I am left with the grains.
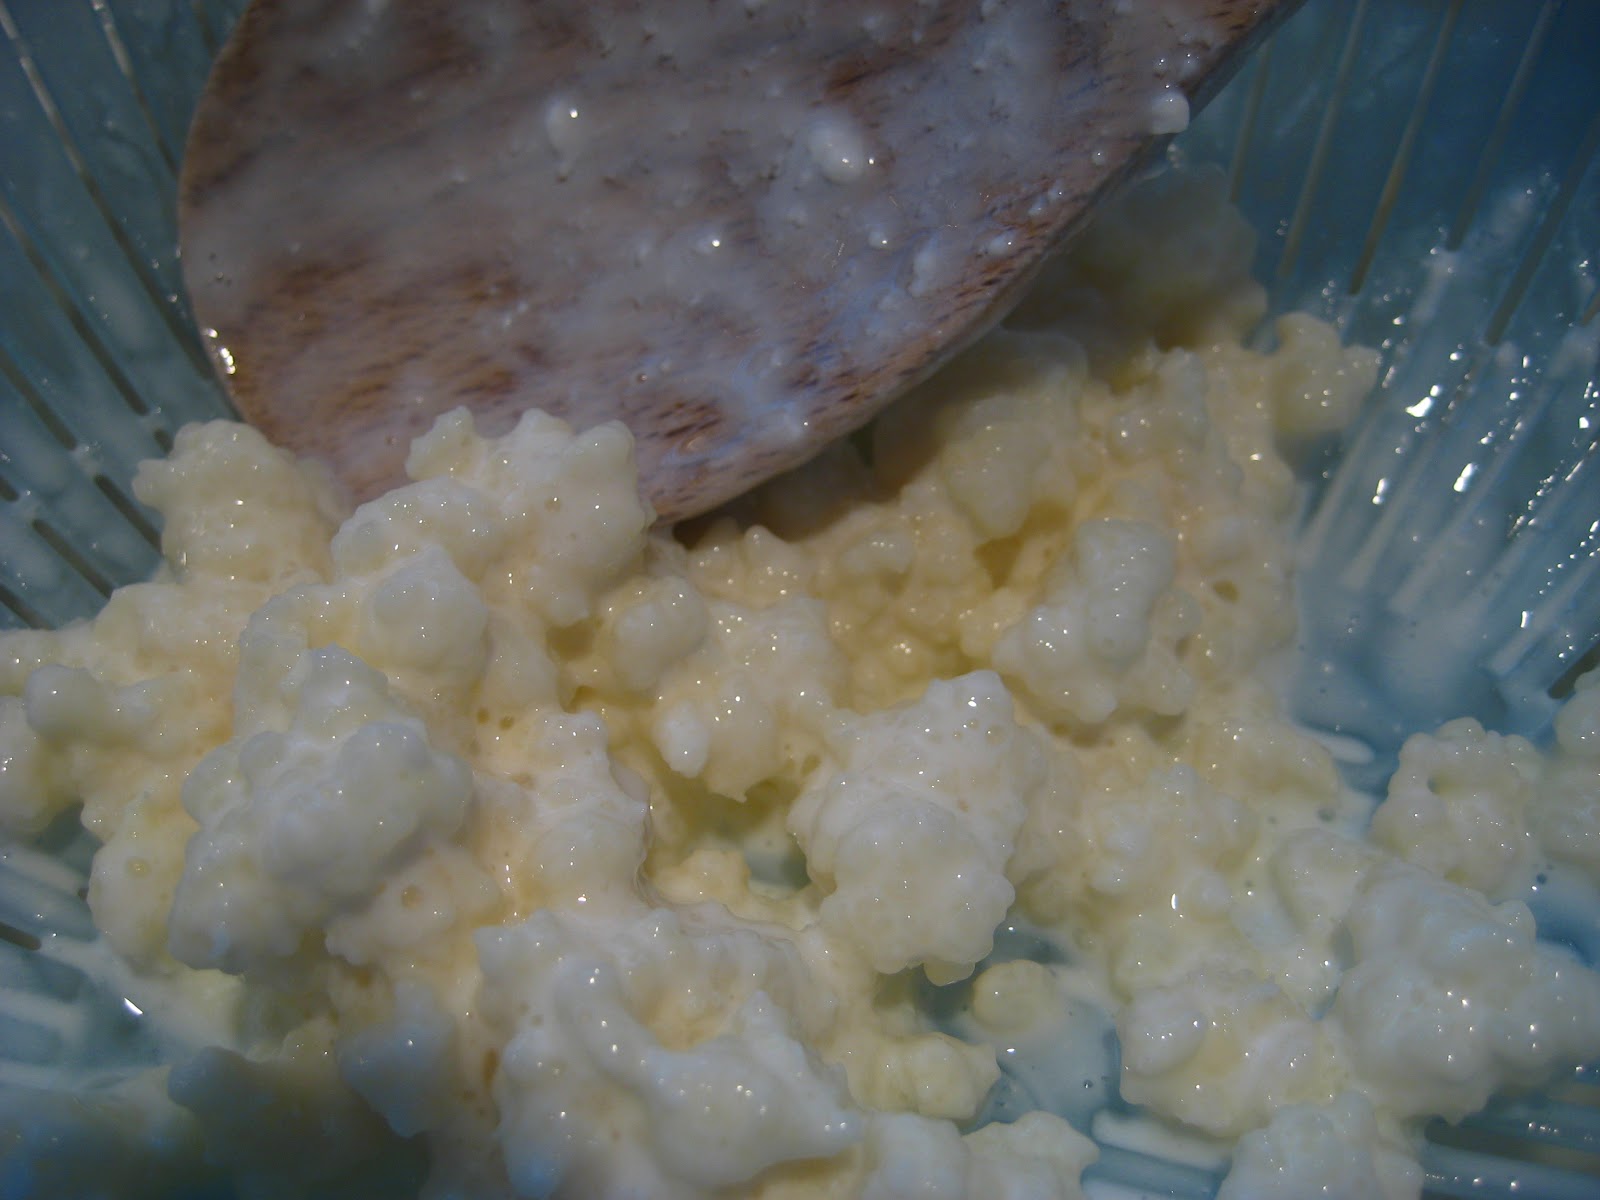
Close up of the happy little kefir grains.

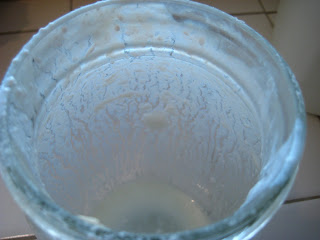
Close up of the jar that was holding the kefir. See the sides? Little lines and rivers along the glass. That's a sign of some good kefir!

Next I scoop the grains up with my wooden spoon and place them back in the jar. Using the same jar is fine and helps to facilitate the kefir process for the next batch. If my jar is starting to get crusty, I will use a new, clean, DRY jar.

Fill up with milk.

Rest a lid on top. Store in an out of the way spot for 24 hours while the kefir grains work their magic. Then I will strain and begin again.
This is the part, on your first batch, that you might have a lot of questions. Feel free to ask, I will try to get to them with time. My blogging window of time is very limited and it will probably take me a long time to get back to you-but I will eventually try my best to answer questions.

Here is a close up of the strained kefir in the bowl.

I either use this immediately, or put a cover on and stick in the fridge until I am ready to use it. I've stored it in the refrigerator for a week without any problems.
UPDATE: I recently purchased a new strainer on Amazon that has been AWESOME for making kefir.
It has also been the best thing I have found for straining small grains like quinoa, etc. I use the 7 inch one with the white/blue Ikea bowl show above. The 3 inch strainer fits perfectly in a wide mouthed mason jar.